Premium ADSL
Get Premium ADSL from Virtual Lanldines and experience premium ADSL speeds.Static IP Compatible
Having your own unique IP address gives you more options, more power, and more control of your network.
1 Concurrent Connection
This allows you to use your DSL service from one location.
Speed. Speed. Speed
You can be rest assured we provide you with speeds fit for a king.
Choose Your Premium ADSL Combo
You’ll have the option to upgrade or downgrade at any time without being hooked into contracts.
All our Uncapped Packages are Premium which means you have less chance of being throttled.
FAQ’s
Firstly, you will need a Telkom telephone line which has been upgraded to a DSL line. If you already have a line installed you can simply order a DSL package.
If you need us to take over the DSL line, you can select to include your DSL Line Rental during the order process.
You would also need a router, and can purchase any additional hardware during the order process.
Need Hardware?
Features Walkthrough
Virtual Landline Features
The Virtual Landlines PBX system is an Easy to Use, Drag & Drop System. Click on a Feature below to view options and example usage.

Information
The Virtual Landlines PBX system works in a drag and drop system. You can connect any of the objects on the left to each other and your phone system will follow your design in real time.
Phone Number
This is your phone number object. You can order as many phone numbers as required.
This is generally the first object on your Phone System.
Available Options:
1. Select numbers you have purchased from Virtual Landlines.
Queue
The Queue object will allow you to route calls differently based on a few options.
Available Options:
- Give the queue a unique name.
- Select a Queue option:
- Least Recent (The caller that took a call least recent will receive the call)
- Fewest Calls (The caller that took the fewest amount of calls will receive the call)
- Random (A random call queue system)
- Round Robin (The caller queue members will receive calls one after the other)
- Select the timeout in minutes (1 – 60 minutes)
- Announce Hold Time (Estimated Hold Time in Minutes)
- No Answer Settings (Where to send the call if there is no answer by the queue)
- Music on hold (Add a playlist of music or Voice Recordings to playback to your clients whilst holding)
Example Use:
Alex’s business has expanded and need to transfer all incoming calls to his call centre. In an effort to distribute all calls equally, he sets up a caller queue and selected the option to deliver the incoming call to the Agent that accepted the Least Recent call.
Playback
The Playback Object can be used to playback and audio at any stage during your Phone System.
Available Options:
- Give your playback option a unique name (Valentines Day Promotion).
- Record or Upload your playback.
Example Use:
Alex has decided to run a promotion for Valentines Day and wants to let of his callers know about the promotion prior to being connected to the Sales department. He adds in a playback option, uploads the voice-over recording and plays back the promotion to his clients, increasing sales over the Valentines Day period.
Record
The Record Object will allow you to start recording a call at any time in your phone setup and have the call recording delivered directly to your email.
Available Options:
- Enter your Email Address.
Example Use:
Alex has set up a voice menu and delivered all calls from option 3 to his Accounts department. Alex needs to record every call that is transferred to Accounts and adds a Record Object in front of the Accounts Person object. Alex received every call recording directly at his email address specified.
Caller Routing
The Caller Routing object will allow you to route calls differently depending on the caller’s number.
Available Options:
- Add Caller Number.
Example Use:
Alex has an important client that he wants to be routed to his phone directly without going through a voice menu with selection options. Alex already knows what his client’ number is and adds both his clients office and landline numbers to the Caller Routing object.
Time Routing
The Time Routing object will allow you to route calls differently depending on the day of the week and time.
Available Options:
- ‘Add Rule’ option to select days and times (Mon, Thu & Fri, 8am to 5pm).
- Time Zone selection.
Example Use:
Alex’s business hours is Monday to Friday, 8am to 5pm. and on Saturdays from 9am to 12pm. He set’s up a Time Routing with 2 rules. One for weekdays and the other for weekends.
He then connects his office hours cable to his normal call workflow and sends callers to a voicemail object outside of office hours.
Dial Tone Access
If you make use of normal call forwarding, you can make outgoing calls using the Dial Tone Access object.
Available Options:
1. Enter the 4-Digit Dial Tone PIN code (1234, 1236).
Example Use:
Alex is out of the office and needs to make a call to a client but does not wish to do so via his mobile phone. Alex simply dials his landline number from his cellphone and uses the dial tone access to make an outgoing call.
** Outgoing calls using Dial Tone Access are subject to per-minute Landline Call Rates
Notification
The Notification object can be used at any point in your phone system setup to send you a notification message.
Available Options:
- Choose the notification type (Email or SMS).
- Enter your email address or mobile number.
- Customise the message that is being sent.
Example Use:
Alex sends calls to his freelance receptionist during certain periods of the year. Alex used a notification object to get notified every time the receptionist failed to answer a call. Alex uses the notifications received to quickly call back any clients that called the office.
Internal Number/Extension
This is an extension or internal number. You can set up an unlimited amount of internal numbers and link these to your team members or departments internally.
Available Options:
1. Select your own 1-4 Digit internal numbers (1, 101, 1234).
Example Use:
Internal Number 101 is linked to your Sales Department. Should you Dial Ext 101 from your Handset or Mobile App you will automatically be connected to the Sales Department.
Fax
The Fax Object can be used to receive faxes via your Virtual Landline Number.
Available Options:
1. Enter your email address where faxes should be received.
Example Use:
Alex needs to receive a fax and links the Fax object with his Virtual Landline Number. He enters his email address and receives the sent fax on his email address.
** Note, a single Virtual Landlines number can either be used for receiving calls and/or faxes and not both simultaneously.
Blacklist
The Blacklist Object can be used to block any unwanted caller numbers from reaching your phone system.
Available Options:
1. Enter the caller number which should be blocked.
Example Use:
Alex receives a number of spam calls a day and decides to add a blacklist object to his phone system. He enters the number which continuously dials him and immediately stopped to receive those unwanted calls.
VoiceMail
The VoiceMail object can be used on the setup to facilitate a call that is unanswered. This is typically the last object on your setup.
Available Options:
- Enter the email address where voicemails should be delivered (you@youremail.com).
- Upload or Record a Business Voicemail that should be played back to the caller if the call is not answered.
- Customise which information is sent to the email address (Caller Number, Time of Call etc.)
Example Use:
Alex enters his email address to the Voicemail object and recorded a Voice Over from Virtual Landlines which he uploaded to the Voicemail object. Although the Phone System forwarded the call to Alex’s cellular network, all the callers to the Virtual Landline received his uploaded Business Voicemail and he received the voicemail recordings directly at his email address.
Conference
The Conference object can be used on the setup to facilitate a Conference Call.
Available Options:
- Enter the 4 Digit ID required to join the conference call.
Example Use:
Alex needs to schedule a conference call with some important clients. He links his phone number (Refer to Phone Number Object) and enters “1234” as his conference PIN. He shares his Virtual Landlines Number (Phone Number) with his clients and all callers who dialled his number got prompted to enter the PIN code to join the conference call.
** Conference calls are subject to per-minute Landline Call Rates
Person
The Person object is used to add in contacts where calls need to be delivered to. You can add up to 3 Forwarding methods or contacts to the person object.
Available Options:
- Give Your Contact a name. (E.g Alex)
- Choose a forwarding method:
- Mobile Number (Call Forwarding – per minute call rates apply).
- Landline Number (Call Forwarding – per minute call rates apply)
- Mobile Application (Free Incoming Calls via the Mobile App)
- IP Handsets (Free Incoming Calls to the IP handset – Router & IP Handset Required)
- Call Confirmation Setting – “Press 1 to accept the call” – useful to differentiate a landline call from a normal cellular/landline call when forwarding calls to an existing number (Call Forwarding).
- Music On Hold – Add a playlist (mp3/mp4) to play whilst the call is waiting to be answered.
- Ring Time Slider – decide how long each of the contact methods should ring or decide which should ring simultaneously.
Example Use:
Alex is added as a person and all calls will immediately start ringing on Alex’s Handset. Should Alex not answer the Handset at his desk, the Virtual Landlines Phone System will send the call through to Alex’s Virtual Landlines Mobile App. Should Alex not answer the app, the call is forwarded to his Mobile Number which if answered, will be billed per minute according to the Virtual Landline Call Rates.
Voice Menu/IVR
The Voice Menu object is used as an IVR to route calls to the appropriate people (Connected to Person Objects).
Available Options:
- Upload or Record your Voice Menu. (E.g Welcome to X-Tronics, Press 1 for Sales, 2 for Support etc.)
- Link options 1, 2, 3 etc. to Person Objects.
- Link a “No selection” route (If the caller has not chosen a number).
- Link a “Invalid selection” route (If the caller has selected an invalid number).
Example Use:
Alex adds a Voice Menu and sets up 3 extensions. Since Alex is the only employee, he recorded a Voice Over from Virtual Landlines and added 3 Extensions:
- Press 1 for Sales
- Press 2 for Accounts
- Press 3 for Sales
Alex then went ahead and linked all 3 Voice Menu options to himself to ensure that his Person object is triggered (Refer to Forwarding options under the Person object) when someone makes any selection from the Voice Menu.
Popular

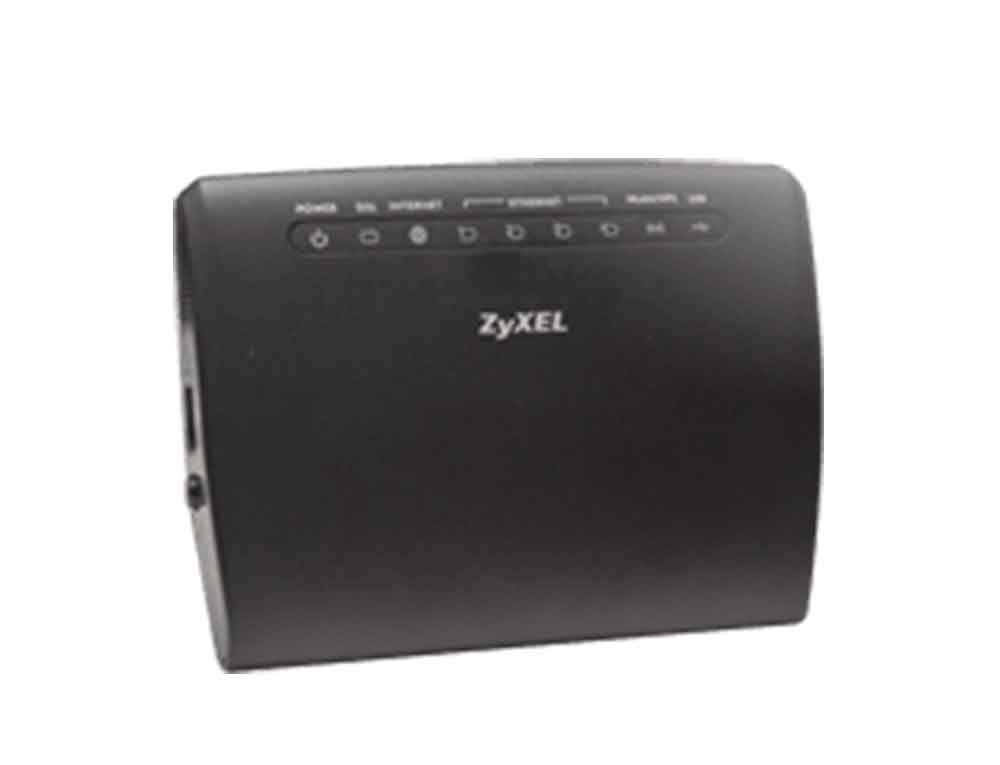
Zyxel AMG1302-T11C
Entry Level
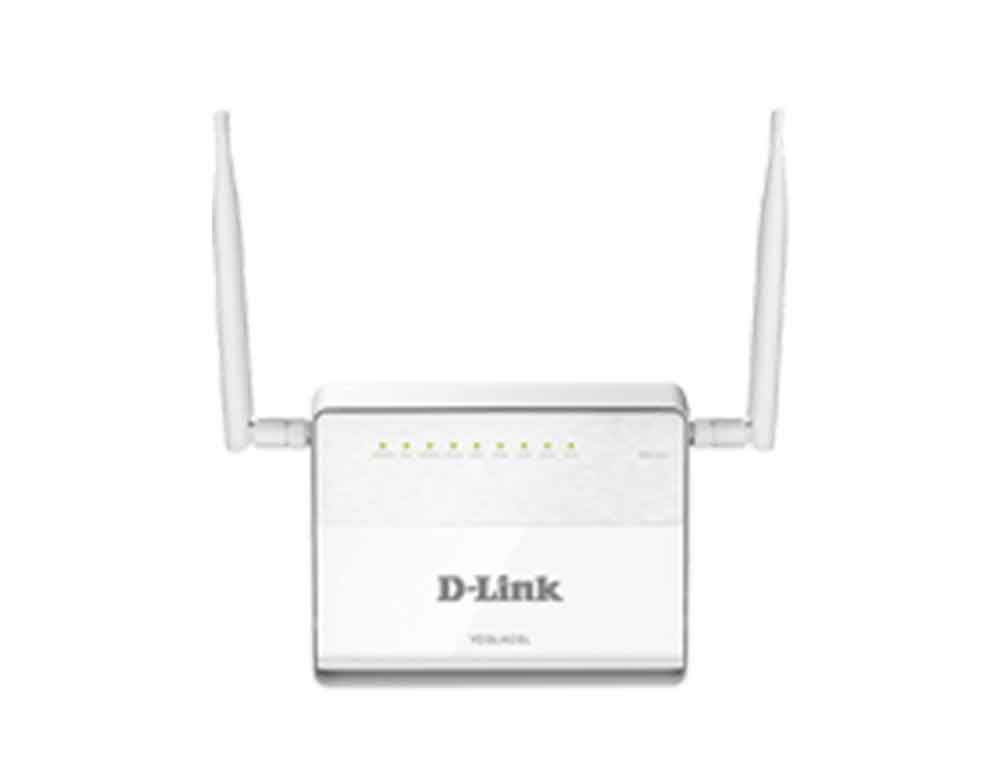
D-Link DSL-224
Entry LevelThe DSL-224 VDSL2/ADSL2+ Wireless N300 4-port router is everything you need for high-speed high-end wireless router together to create a single, easy-to-use device that connects to the Internet, and shares that connection withh all of your devices.
The DSL-224 VDSL2/ADSL2+ Wireless N300 4-port router is everything you need for high-speed high-end wireless router together to create a single, easy-to-use device that connects to the Internet, and shares that connection with all of your devices.
